Back to Maintenance Manager Main Menu
- To enter a new work order, click on the NEW WORK ORDER tab.

- Enter a Description to describe what work needs to be completed.
- Click the magnifying glass on the Location/Equipment line to select a location or piece of equipment that will be tracked on this work order. If your location or equipment contains sub-locations or sub-equipment, a tree icon will be located beside the Location or Equipment Name. Click this to view sub-Locations/Equipment. *Note: If you are tracking usage on the selected equipment, you will see a Record Usage link appear below the Location/Equipment field. Click this to open a side panel where you can see the Last Reading for the equipment, as well as update the Reading if needed.
- In the Status drop down, New Request is selected by default. *Note: If entering a work order that is already in progress or has been completed, you can choose the appropriate status.
- In the Priority drop down, Medium is selected by default. Click on the down arrow to choose another priority level if needed.
- Click on the down arrow on the Purpose line to choose a Purpose that best describes why the work is being requested.
- If this work order needs to be tied to a Project, select the appropriate one from the drop down.
- Click on the magnifying glass on the Assigned To line to select a user to assign the work order to. If an additional user needs to be assigned to the work order, click on the magnifying glass again and select another user.
- Select a Trade to describe what type of work needs to be done.
- The Request Date defaults to the current date and time that the work order is being entered.
- You are able to manually enter in a date by highlighting the current date and erasing it, or click on the calendar icon to select a new date. *Note: Request Dates can be backdated. If you are clearing the date it will also clear the time. Once a new date is entered, the time will default to 12:00 AM.
- Update the time by highlighting the current time and erasing it. Once a new time is entered, click on the down arrow to select whether time is AM or PM.
- Identify the name of the Requester in the Requested By section by clicking on the magnifying glass. By default, the user who is entering the work order will be listed.

Planning
- Utilize the Estimated Hours and Estimated Costs fields to track this information on your work order.
- Enter a Scheduled Start Date for when you would like the technician to begin the work.
- Enter a Due Date to show the targeted completion date the user has to complete the work order. *Note: If the work order goes past the Due Date and has not been put into a complete status, the work order will show as overdue. The Due Date will also generate a number of days to complete the work order when looking at the work order list.

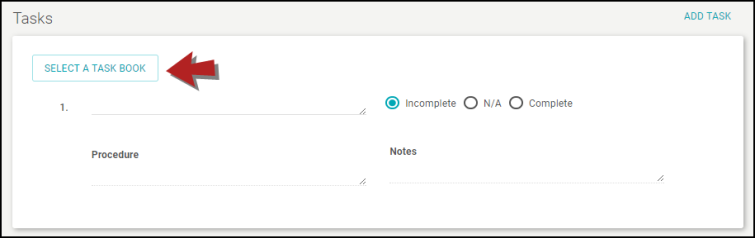
Adding Tasks
- The Task section allows you to enter specific procedures regarding the work order.
- Click on Add Task.

- Enter a title for the task on the blank space beside the task number to give an overall idea of what the task will be. *Note: Once you begin entering text for the first task, a new blank task line will automatically appear below. You must enter a task before you can begin typing on the procedure line.
- On the Procedure line, go into detail about the task to tell the worker exactly what needs to be done.
- Enter any necessary notes on the Notes line.
- Delete a task by clicking on the trash can icon to the right of the task.

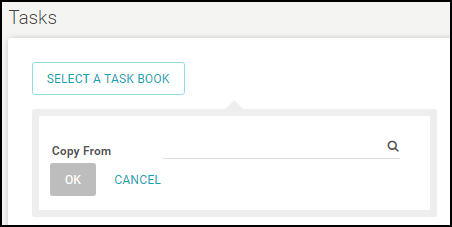
Selecting a Task Book
- You also have the option of selecting a pre-made Task Book by clicking on Select a Task Book.
- Click on the magnifying glass to choose a task book you would like to copy. Click OK when you're finished.
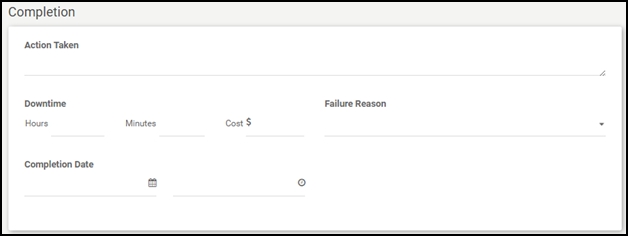
Completion
- The Action Taken field is used to document what was done to resolve the problem or request.
- You are able to track Downtime on your assets by entering hours, minutes, and costs associated with that downtime.
- Select a Failure Reason from the drop down to document why the asset failed.
- Enter a Completion Date to document when the work was completed. *Note: The Completion Date must be on or after the Request Date. If creating a work order with a status of Complete, the Completion Date becomes a required field.
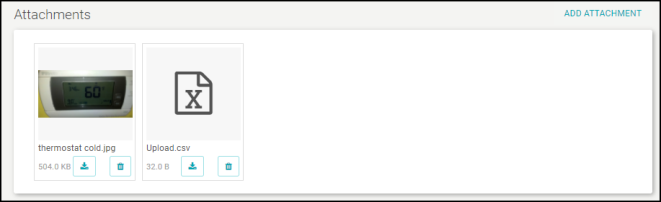
Attachments
- Click on Add Attachment. *Note: You are able to upload up to 100 attachments.

- If the attachment is an image, you will see a preview of the image.
- Click on the preview of the image to see a larger version of it. *Note: There is no file size limit, however, images over 10MB will not generate a preview. Common file types you can attach are JPEG, PNG, PDF, Excel, and Word Documents.
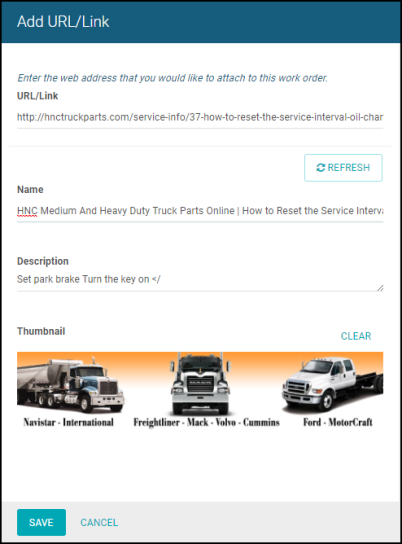
Links
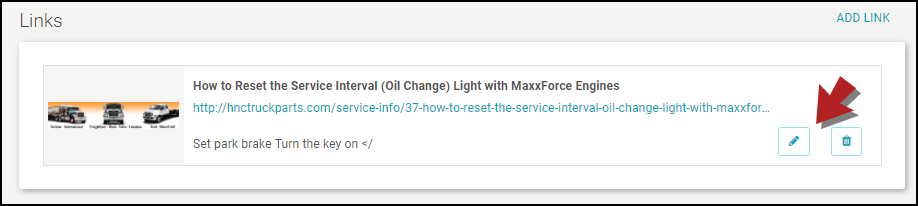
- Click on Add Link.

-
In the side panel, enter the URL. *Note: When a URL is entered, the link's name, description, and thumbnail image will automatically populate if available. This information can be saved as-is or edited before saving.
- Click Save.
- Your link will now be visible on the work order. Click the pencil icon to edit the link or, click the trash can icon to delete it.